Build a Bridge Tools & Checklists
Blueprint drills, upgrade priority, and decision aids you can run mid-session.
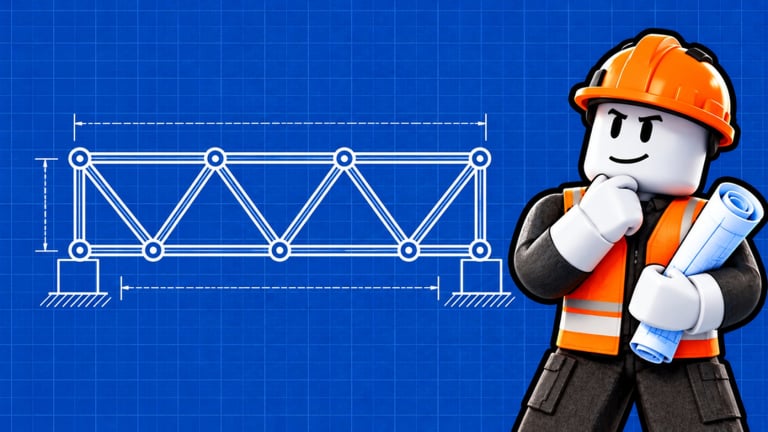
Not every “tool” needs a calculator widget. This Tools Hub packages practical checklists and decision aids for Build a Bridge so you can pause mid-session, run a drill, and return to farming smarter. Pair it with deep guides when you need prose; use it when you need a punch list.
Tool 1 — Blueprint practice checklist
Use the Builder when stuck (Controls), then run this drill so tracing becomes learning:
- Buy / unlock one blueprint suited to your current gap.
- Trace the full road and supports once without improvising.
- Done-test with your current safest vehicle.
- Delete the center two bays only.
- Rebuild those bays freehand using the same material tier.
- Retest. If it snaps, compare joint connectivity to the blueprint ghost.
- Optional: swap the rebuilt bays one tier up (Wood→Steel or Steel→Titanium) and retest (Materials).
- Note bay count and diagonal direction in chat or a screenshot for post-rebirth recall.
Complete the drill twice a week and lattice spacing stops feeling mystical.
Tool 2 — Upgrade priority card
When cash burns a hole in your pocket, follow this order unless a patch retunes values (Updates):
- Stabilize current crossings (structure first)
- Vehicle speed
- Steel on bending bays
- Spawn rate after failures are rare
- Blueprint if design time is the bottleneck
- Titanium for late heavies / wide gaps
- Rebirth when the rebirth checklist is green
- Cosmetics / rare skin chasing last
Full rationale: Earn Money. If a script’s Auto Upgrades disagrees with this card, disable it (Barrage).
Tool 3 — Bend vs snap decision aid
After each Done test, pick one branch:
| Observation | Action |
|---|---|
| No visible bend | Consider next vehicle unlock carefully (Vehicles) |
| Soft bend, recovers | Add diagonal or cross brace at that bay |
| Deep bend, still holds | Upgrade material on that bay; delay heavier unlocks |
| Snap | Rebuild failure region; do not unlock anything; review Bridge Designs |
| Snap only after rebirth | Expect demotion; stretch lattice; start lighter |
One change per test beats five random beams.
Tool 4 — Pre-rebirth readiness score
Score 1 point each:
- Speed feels upgraded
- Steel lattice clears mid heavies
- You can rebuild a bay quickly
- Titanium owned or clearly next
- You understand your best design without a blueprint
0–2: Keep farming. 3–4: Optional rebirth soon. 5: Reset with confidence using Rebirth.
Tool 5 — Post-patch five-minute audit
After any drop (including First Update):
- Rejoin clean
- Done-test previous best vehicle
- Check upgrade prices
- Glance at Codes Hub (still likely empty)
- Disable broken scripts
Tool 6 — Session timer templates
Steal these from the money guide mindset:
- 15 min: repair + one speed level + log out on a clear deck for offline cash
- 45 min: one material breakpoint + one tested unlock + lattice tweak
- Rebirth night: spend → reset → skeleton rebuild → stop
How these tools connect to the rest of the wiki
- New? Run Blueprint drill after Getting Started
- Snapping? Bend vs snap aid + Bridge Designs
- Broke? Upgrade priority card + Tier List Hub
- Flexing? Players etiquette on Players before chasing boards
- Confused about the site? Wiki about
Fair-play reminder
These tools assume legitimate HUD features. Third-party executors are optional risks documented under Scripts, not part of the checklist toolkit.
Print the priority card mentally, run the blueprint drill when frustrated, and let Done-testing stay sacred. Strong bridges are built with repetition — these tools just keep the repetition honest.
Frequently Asked Questions
Quick answers to the most common questions.
Do I need Robux tools or paid calculators?
No. The checklists here use in-game Builder blueprints, Done tests, and upgrade order — no external payment required.
What is the single best habit from this hub?
Change one thing per Done test. The bend-vs-snap aid stops panic rebuilding that wastes cash.
When should I use a blueprint versus freehand?
Use blueprints when stuck or post-rebirth, then immediately freehand the center bays so you learn the spacing.
Should Auto Upgrades follow the priority card?
If you use scripts at all, turn Auto Upgrades off unless they match this order. Blind spends often buy Titanium too early.