Build a Bridge Blueprints & the Builder
Buy a working design, trace it once, then rebuild freehand so the next rebirth does not erase your skill.
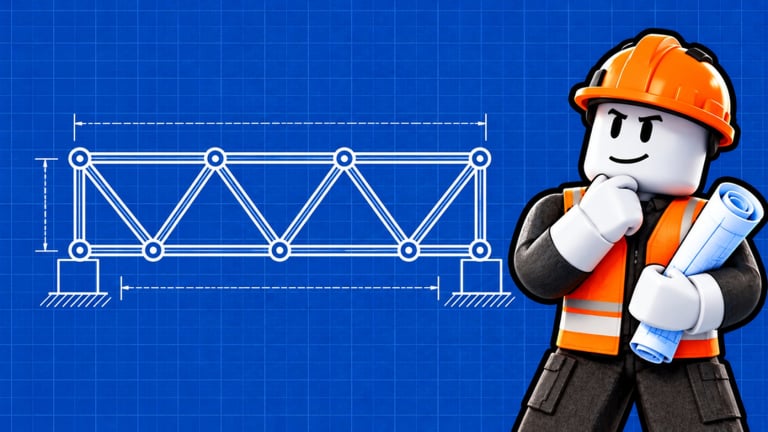
When a span keeps folding and cash is bleeding into rebuilds, the Builder is the fastest tutor in Build a Bridge. Blueprints sell ready-made road-and-support layouts you can place as a starting point, then study until the geometry makes sense. This guide covers when to buy one, how to trace without mindlessly copying, and how to turn a purchased design into a freehand habit that survives rebirth wider gaps.
Pair this page with Controls for HUD buttons, Bridge Designs for pattern names, and the Tools Hub blueprint practice checklist.
What a blueprint actually gives you
A blueprint is a ghost layout: road line plus support beams already arranged for a gap class. It is not an auto-win button. Physics still bends and snaps if you unlock a vehicle heavier than the design was meant for, or if you edit the center into a floating mess. Think of it as a teacher sketch, not a finished exam answer.
Community beginner guides consistently recommend buying a blueprint when the same mid-span failure repeats after three honest Done tests. That is the right trigger — not “I am bored of Wood.”
When to buy versus keep freehanding
Buy a blueprint when:
- You fail the same bay three times with the same material tier
- You just rebirthed into a wider canyon and your old lattice no longer reaches
- You want to learn truss / arch spacing faster than trial-and-error allows
- Design time is the bottleneck, not cash (see upgrade order in Earn Money)
Keep freehanding when:
- You are still learning straight road + diagonal Wood on day one (Getting Started)
- Your only problem is material strength (Wood bending under mixers → buy Steel, not a blueprint)
- You already understand the pattern and only need a Titanium patch on the crown
Spending blueprint money before vehicle speed and basic Steel comfort usually slows the farm. Speed multiplies every successful crossing; a blueprint multiplies only your understanding.
Trace workflow that builds skill
- Open the Builder and pick a blueprint that matches your current gap, not a fantasy late-game arch.
- Trace the full road first so the deck is continuous ledge to ledge.
- Place supports exactly where the ghost shows joints — especially diagonals that meet at mid-span.
- Press Done with your safest proven vehicle.
- If it holds, delete only the center two bays and rebuild them freehand in the same material.
- Retest. Compare where your freehand joints differ from the ghost.
- Optional: upgrade the rebuilt center one material tier and retest (Materials).
This drill is also written as Tool 1 on the Tools Hub. Run it twice a week and lattice spacing stops feeling mystical.
Blueprint tracing as learning, not crutches
Official-style tips note that tracing teaches what a strong bridge looks like faster than improvising from scratch. The goal is to internalize bay count, diagonal direction, and joint connectivity. After one or two successful freehand rebuilds of the center, try a full freehand copy on a private practice rebuild before the next heavy unlock from the Vehicles tier list.
If you only ever paste blueprints and never freehand, the first post-rebirth gap will feel like starting over. The Builder is a ladder; climb it.
Design patterns blueprints teach well
| Pattern | What the ghost usually shows | Freehand focus |
|---|---|---|
| Straight + diagonals | Road flat, braces leaning into the span | Keep diagonals connected, not lonely posts |
| Lattice / truss | Crossed supports under mid bays | Match joint density at the lowest sag |
| Arch-assisted | Curve with supports along the path | Do not flatten the crown without new braces |
Deep pattern notes live in Bridge Designs with a design-tips video. Use blueprints to feel those patterns in your hands.
Money and Robux context
Blueprint purchases come from gameplay cash in the normal loop. Separate Robux material packs (Wood / Steel / Titanium stud packs, sometimes with durability perks) are optional accelerators covered under Material Packs. Do not confuse paying for studs with paying for design skill — packs fill inventory; blueprints fill understanding.
After First Update and patches
When Samzy ships content like the First Update, Builder catalogs or blueprint prices can shift. Re-run the trace drill on a known vehicle before trusting an old ghost on a new gap width. Check Updates if the Builder UI gains new panels.
Multiplayer note
On six-player servers (Players), place blueprints without blocking another builder’s test lane. Your ghost is yours; their Done test is theirs.
Related pages
- Controls — Builder buttons and Done
- Tips & Tricks — collapse checklist and session habits
- Bridge Designs — pattern library
- Tools Hub — printable drill card
- Guides Hub — full index
Buy the sketch, trace the joints, freehand the center, then put the Builder away until the next canyon teaches you something new.
Frequently Asked Questions
Quick answers to the most common questions.
Where do I buy blueprints in Build a Bridge?
Use the in-game Builder. Purchase a layout that matches your current gap, then place and Done-test it before editing.
Should beginners buy a blueprint on day one?
Usually after you understand straight road and Wood diagonals. Early freehand teaching beats skipping straight to paid ghosts.
Do blueprints survive rebirth?
The skill does if you freehanded the center. The old layout often fails on a wider gap — re-buy or redesign for the new width.
Is a blueprint better than Steel?
Different jobs. Blueprints teach geometry; Steel raises strength. Fix the failing job first — weak angles need design, weak Wood needs Steel.